
Temperature, Timing & pH
Learn to lacto ferment veggies at home
From yer first jar to your own signature flavor…
Welcome to my little corner of the internet, friend. I’m so glad you found your way here to Alhaga homestead.
If we haven’t met before, my name is Fredrik, and my great passion in life is growin’ with nature as my inspiration and enjoyin’ really good, home-cooked food in the company of good friends. It’s that feelin’ I want to share with you here, whether you already have your own garden plot or you’re just dreamin’ about one.
Today, we’re taking a step together into the world of fermented vegetables. So don’t be shy, come right on into the Alhaga kitchen. The door’s always open.
Picture a sunny saturday morning… You’re standin’ there in your local grocery store in town still a little tired, among the aisles and you spot the day’s little treasures in the reduced produce bins. A chance to make somethin’ really delicious back at home.
Maybe you let your mind wander for a moment, dreamin’ about the day you’ll pull your own carrots right up from yer own little patch of earth? To smell the warmth of tomato leaves after a sunny day, and feel that pride of having grown your own vegetables yourself?
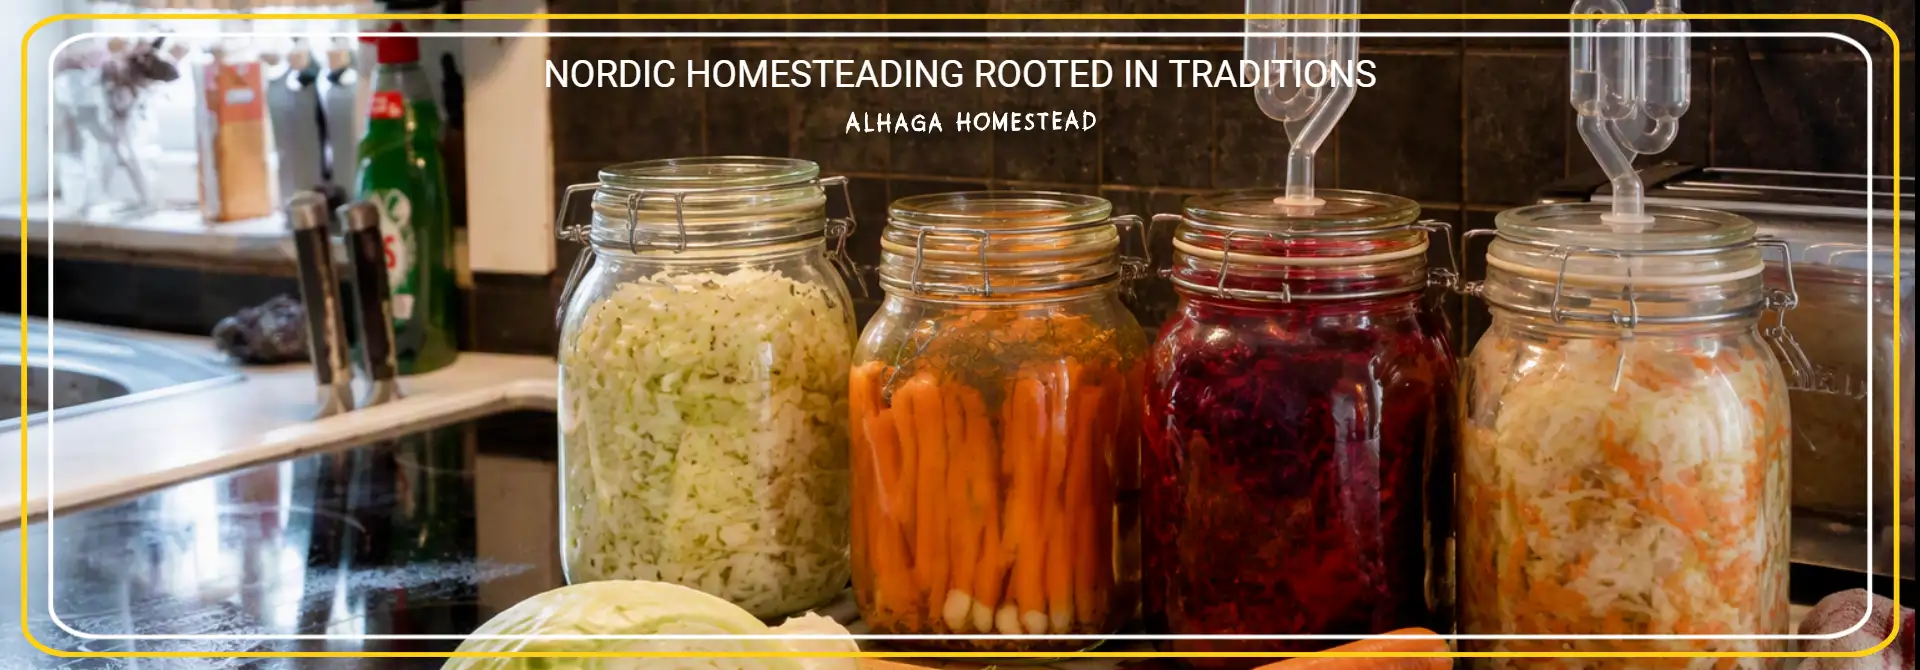
Whether you live in the big city or out in the country, there’s somethin’ special about a row of jars filled with autumn’s harvest. Carrots, cabbage, beets, and other veggies changing slow and steady while we go about our day – walkin’ past ’em right there on the kitchen counter.
A little salt, the right temperature and time. And then mother nature does most of the work for us.
Fermentation or lacto fermentation, if you wanna get technical – ain’t actually all that complicated. But it is a livin’ process, and that’s exactly why there’s a few things you gotta understand before we dive in. I’ve changed how I ferment over the years myself. That’s kinda the whole point of how I learn, I try, I figure out better ways, and I share what I pick up along the way.
So let’s start from the beginning.
What is fermentation?
When you lacto ferment vegetables, lactic acid bacteria get the chance to convert carbohydrates into – you guessed it – lactic acid. The ph drops, the flavor changes and the food lasts longer ’cause a lot of the microbes that can spoil food or make you sick don’t thrive in that acidic environment. The USDA and food safety folks describe this as a biological preservation method.
Here’s what fascinates me most about fermentation. We take something as ordinary as a carrot or a head of cabbage and let a natural biological process transform the flavor, texture, and shelf life. It’s old school homestead knowledge that still has a rightful place in a modern kitchen.
Are fermented veggies probiotic?
Fermented foods get talked about a lot when it comes to health benefits and that word “probiotic.” But here’s the thing – not all fermented foods should automatically be called probiotic. The National institutes of health and food safety experts point out that probiotics are live microorganisms that have been proven to confer a specific health benefit when consumed in adequate amounts.
Fermented foods may contain live cultures, but they don’t necessarily meet that definition. The strains aren’t always identified, the amounts vary and a specific health benefit hasn’t been clinically documented for most home ferments.
At home I focus mainly on fermentation as a traditional method for flavor, preservation and gettin’ the most out of what I’ve got. And honestly? That’s plenty excitin’ on its own.
Why bother fermenting?
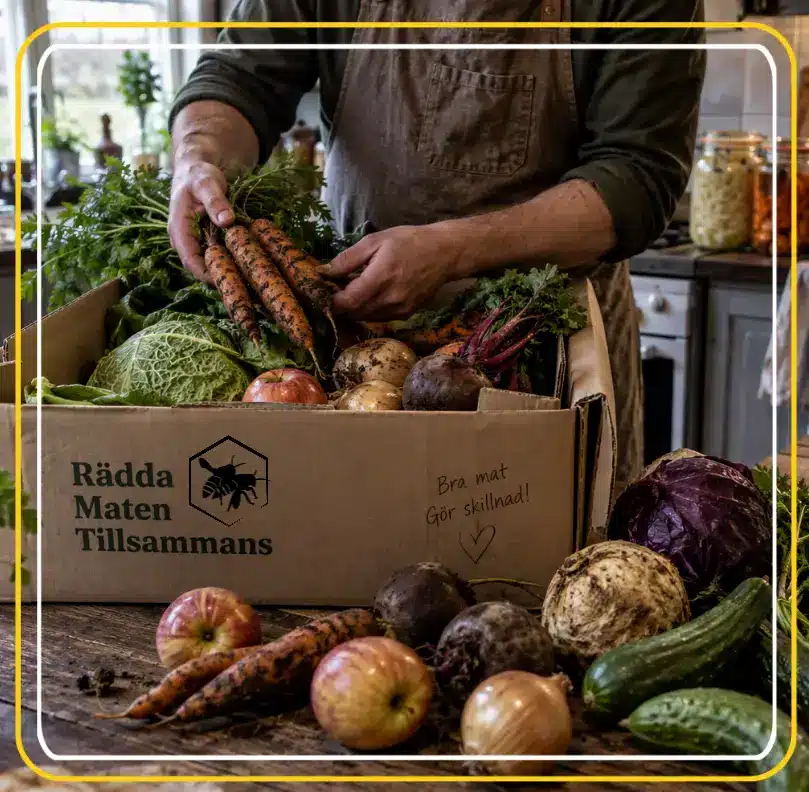
For me, fermentation is all about makin’ the most of what we have. Maybe the veggies come from your own garden, maybe you found a gorgeous head of cabbage at the farmers market or maybe you got too many carrots in this week’s produce box.
Doesn’t really matter. Self sufficiency don’t mean every single ingredient has to be grown ten feet from your back door. It’s also about havin’ the knowledge to take care of a raw ingredient once you’ve got it.
And fermentation gives us somethin’ more than just longer shelf life, it creates brand new flavors. Tangy, salty, bright and sometimes a little funky. (Yeah, you’re gonna smell it. That’s supposed to happen.)
Your first fermented veggie might taste a little strange at first. Then you start wonderin’ what else you can stuff in that next jar. That’s right about when things start getting out of hand – in the best way possible. Next thing you know, your pantry’s full of bubbly experiments. Welcome to the club, friend.
Which veggies should you start with?
Most vegetables can be fermented, and extension services from places like Virginia tech and USDA. Mention cabbage, carrots, beets, and cucumbers as common starters. If this is your first jar, I’d personally start simple. Carrots or cabbage are great raw materials to learn the process with.
Once you’ve got a feel for fermentation, the real fun begins.
Salt ain't just for seasonin'
Now we need to pause here a minute. In regular cookin’, I might very well be the person who says. A little less salt.
But not here. With fermentation, salt is part of the actual process. Salt concentration should generally fall between 1% and 3% for most vegetable ferments, and the exact amount needed varies depending on which vegetable you’re fermentin’. Too little salt can allow unwanted microbes to grow and can also mess with the texture of your veggies.
That’s why I use a scale and grams – not handfuls or guesswork tablespoons, when salt levels matter.
Here's how to calculate salt amounts
The easiest way to think about it, salt is calculated based on the total weight of vegetables plus liquid in the jar.
Example (at 2% salt concentration – a common sweet spot for many veggies):
You’ve got 500 g shredded carrots
You add 500 g brine (water + salt)
Total weight = 1000 g
At 2% salt concentration: 1000 g × 0.02 = 20 g salt
For yer first jar, I recommend following a tested recipe with exact amounts for the specific vegetable you’re usin’. This post is the foundation guide that teaches you the process, in future recipes I can go in to more specific amounts for carrots, cabbage, beets, and beyond if that would be of interest.
Two common methods - dry salting vs brine
Before we begin, it helps to know there are two main approaches.
Dry salting: You weigh the veggies, add salt (often 1–2% of the vegetable weight), massage or pound ’em till liquid releases. Then pack everything into the jar, the liquid that forms becomes your own brine. Works great for cabbage, carrots and other shredded veggies.
Brine method: You place the vegetables in the jar (whole or sliced) and pour a prepared salt solution (water + salt) over ’em. Common when fermenting whole veggies, or when the vegetables don’t release enough of their own liquid.
Both methods work, your choice depends on which vegetable you’re usin’ and which recipe you’re following.
A simple start - what you'll need
For that first jar, let’s keep it simple.
You’ll need:
Chosen vegetables (carrots or cabbage work great)
Salt (non-iodized cannin’ or picklin’ salt is best)
Water (if your method requires brine)
A clean glass jar or other suitable fermentation vessel
Kitchen scale
ph strips (optional, but handy)
Somethin’ to help keep the veggies submerged under the liquid (a fermentation weight, a smaller jar or even a clean cabbage leaf)
Herbs and spices can be used to create your own flavor, but wait on the experiments till you’ve got the basic process down.
Important: Since the right salt concentration varies by both raw ingredient and method, it’s important to follow a tested recipe for the specific vegetable and technique you’re using.
How fermentation works, step by step
1. Prep your veggies
Use good quality vegetables and clean tools. Depending on the vegetables and recipe – you might shred, slice or ferment ’em whole.
2. Add salt accordin' to your tested recipe
Weigh the salt carefully. For shredded vegetables, the salt helps pull liquid outta the vegetables.
3. Pack it down good
Pack the veggies into your vessel accordin’ to the recipe. The vegetables need to stay under the liquid durin’ fermentation, that’s crucial for maintainin’ that low oxygen environment. A fermentation weight comes in real handy here. (Or a smaller jar filled with water works just as well, and it’s free.)
4. Seal it up
When fermentation kicks in, gas forms. Bubbles and gas production durin’ the first few days are signs of a successful ferment.
This is where my own method’s changed over time. When I first started fermentin’, I sometimes used linen cloth over the jar with the lid resting on top – screwed down just a bit. I don’t do that quite the same way anymore. These days, I prefer usin’ airlocks. Same principle you might recognize from brewin’ or winemaking, ’cause fermentation can get real active durin’ those first few days.
And when I say active, I mean active. It can get so lively that liquid pushes up and out. (Yeah, I’ve had to wipe down the counter. More than once.) That’s why I keep an eye on that airlock and make sure it’s still workin’ like it should. This is my practical experience. The basic principle is keeping veggies submerged and maintaining a low oxygen environment, follows established food safety guidance.
Something I’ve become really fond of are those Chinese pickle jars from Amazon. My advice is to get one larger and one smaller glass jar. Personally, I have two large ones and two small ones – the best investment I’ve ever made.
What a ph strip can tell you
Start with a tested recipe
Check the ph strip’s range
Take a clean sample
Test the brine
Record your starting reading
Check during the first two days
Look for a falling ph
Aim around ph 3.5–4.0
Compare with recipe guidance
Keep vegetables submerged
Track each reading
Recheck before cool storage
When in doubt, discard
Temperature and time - what to watch for
It might feel logical to stick that jar in the fridge just to be safe. Don’t do that durin’ the initial fermentation if your recipe calls for room temperature. Lactic acid bacteria need to multiply quickly durin’ the first couple days, and that happens best at room temp. In the fridge, the process slows way down, which means any potential bad bacteria might survive longer.
A little tool that tells you a lot
This is somethin’ I really think belongs in your toolkit. I use plain old paper ph strips. They’re simple and don’t require any fancy equipment. In a successful ferment, the ph should drop to around 3.5–4.0 within the first couple days. ph strips are easy to find online – Amazon, brewing supply shops or anywhere that sells food testing equipment.
I’m thinkin’ about getting a digital ph meter myself someday. But till I’ve actually used and evaluated one, I ain’t gonna stand here tellin’ you which one to buy. We’re learning together on this homesteadin’ journey – and your comments are what make us all a little more aware, a little more skilled.
When are the veggies done?
Fermentation ain’t like settin’ a cake in the oven and starting the timer. Your raw ingredients and conditions matter, and the flavor develops over time. So follow the timing and conditions in the specific recipe you’re using and keep an eye on things.
Once your veggies are done fermenting, store ’em cool or in the refrigerator.
Four ways to flavor your next jar
Once you understand the basic process, that’s when the fun really starts. Seasonin’ can turn two jars of the same vegetable into completely different experiences. Here are a few flavor paths I think fit right into the Alhaga kitchen.
Nordic style:
Dill, mustard seed and a touch of garlic
Harvest time:
Apple paired with suitable veggies and spices
With a little kick:
Chili, garlic and other spices that complement your vegetable
The simple jar:
Let the vegetable itself be the star
Think of these variations as inspiration, not an invitation to randomly change the proportions in a tested fermentation recipe.
And remember: we don’t have to grow everything ourselves to practice self sufficiency. An overflowing harvest basket from a neighbor’s garden works just fine, a produce box from town can work just as well when the ingredients are suitable and in good shape. It’s the knowledge we carry forward.
What would ya put in yer first jar?
Tell us in the comments which vegetable you’d ferment first – or share the seasoning combination you keep coming back to in your own kitchen. Your story might be the one that inspire someone else.
Questions about fermenting safely
Clean tools, accurate salt, proper submersion and the right temperature all matter. Follow a tested recipe, check your jar regularly and don’t eat a batch you’re unsure about.
“Follow current food safety guidance with every ferment. If a jar leaves you unsure, don’t gamble – check trusted local extension resources before you eat it.”
How clean should my jar and tools be?
Wash your hands, jar, weights, and utensils thoroughly before starting. Work with sound produce and follow the cleaning instructions in your tested recipe.
Why do I need to weigh the salt?
Salt amounts help create the conditions your recipe calls for. Weigh it rather than guessing, and don’t change the recipe’s salt or brine proportions to suit your taste.
How do I keep vegetables submerged, and where should the jar sit?
Use a clean fermentation weight or the method specified in your recipe to hold vegetables below the brine. Keep the jar at the recipe’s recommended temperature; don’t refrigerate during initial fermentation if it calls for room temperature.
What if I see mold or suspect the batch has spoiled?
Discard the batch if mold appears; don’t assume removing the visible patch makes it safe. If the vegetables weren’t submerged, the recipe conditions weren’t followed, or you’re uncertain about the result, don’t taste it—discard it.
What can go wrong - and how to avoid it
Fermentation is a biological process, so it deserves more respect than the old sayin’ “it probably smells fine.”
Here are yur most important checkpoints:
Use a tested recipe and weigh your salt
Work cleanly
Keep veggies submerged under the liquid
Follow recommended temperatures
Monitor the fermentation, ph strips are your friend
Store finished ferment cool or refrigerated.
Remember: a failed ferment can allow unwanted bacteria to spoil the product. And in the worst case, make whoever eats it genuinely sick. And if you find unwanted mold, don’t assume you can just scoop a little off the top. While some firm vegetables (like cabbage, carrots, and peppers) can sometimes be salvaged by cutting off at least an inch around and below the moldy area, USDA guidance for home prepared foods generally recommends discardin’ the entire batch if mold appears.
Why? Some molds can produce mycotoxins, toxic compounds that can spread beyond what you can see. And those toxins don’t get destroyed by normal cookin’ or reheating.
One small but important reminder
This is how I work with fermentation drawing from my own experience and established food safety guidance. Fermentation is a biological process where raw ingredients, temperature, hygiene and method all play a big role. Always follow current recommendations for safe food handling and use your own good judgment. If you’re unsure whether a ferment has succeeded – don’t gamble.
For fermentation specifically, I also recommend checking out resources from your local university extension service or guidance on safely fermentin’ food at home.
The beautiful thing about learnin' to ferment
The goal ain’t really to master a recipe. The goal is to understand the process well enough that the knowledge becomes yours.
Start with one jar.
Learn the smell, the bubbles, the tang and how the flavor changes over time. Jot down what you did. Next time, maybe you tweak the seasonin’ or try a different vegetable using a new tested recipe. That’s how a lot of that old homestead knowledge was built up in the first place.
One jar at a time.
Now i'm curious about you
What vegetable would you wanna put in your first jar? And if fermentation’s already part of your kitchen, I’d love to hear about that flavor combination you always come back to. Maybe the next variation starts right here, around our shared kitchen table.
You take care now, with warm wishes from your passionate homesteadin’ blogger, Fredrik. 🧺